


It's been almost ten years since the last time my sitting room wall was properly decorated. It's about time I got that job finished.
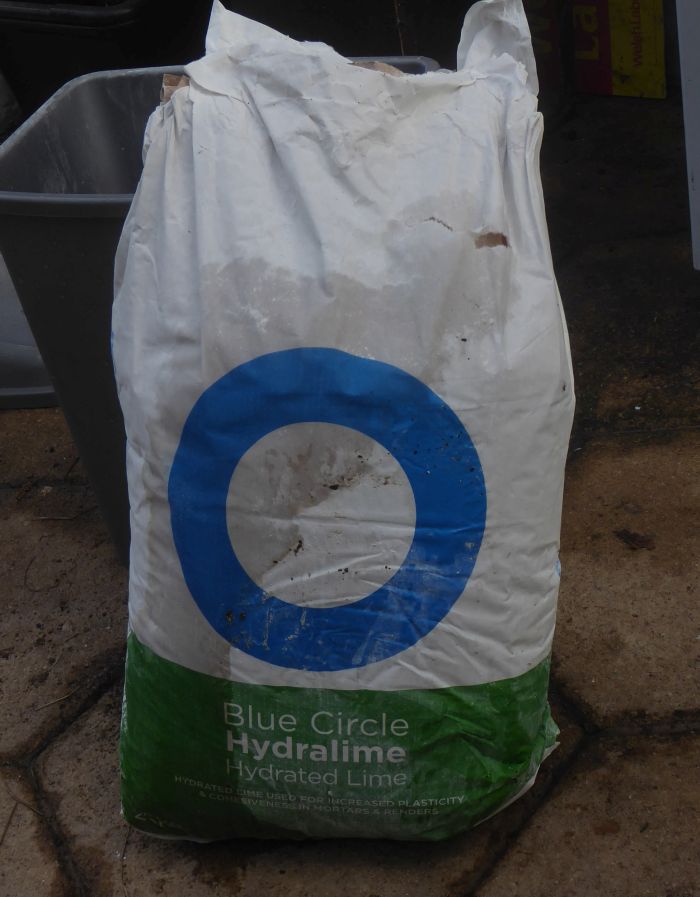
Lime - the main ingredient of whitewash.
Click to see more.
Since making a large hole in the wall for the wood burning stove, there's been ragged, unfinished stonework around the fireplace. The plaster on the rest of the wall was very thick, so I built up the thickness to match with lime mortar followed by a topcoat of pure lime, made by simply mixing lime with water. This gave a finish that was remarkably smooth and white, but also very powdery. Every time George walked along the mantelpiece, he got his fur covered in white powder, which I really didn't want him washing off as lime is caustic stuff.
With lime plaster on the wall, it's generally recommended that lime paint is used to decorate. Admittedly, this recommendation mostly seems to come from retailers of lime paint, but there are sound reasons for it. A major advantage of lime plaster, especially in older buildings, is that it makes the walls "breathable", meaning that any damp that gets into the walls can get out again. Putting a conventional, vinyl paint over the top of that would firstly lose that benefit, but also make the paint likely to fall off. Unfortunately, breathable lime-based paint tends to be marketed to people who are renovating old buildings, conscientiously respecting the integrity of the building and concerned about the environmental impact of every step. Consequently, the paints tend to be expensive.
Lime paint is also called whitewash, and it was traditionally used in very modest houses - this was not a luxury product. Surely it must be possible to make it cheaply nowadays as well? I already know that lime can be bought in 25kg bags for about a tenner. I also already know that if you just apply this to the wall, you end up with an unacceptably powdery finish. The question is, how do I solve that problem?
I thought I'd heard that the traditional solution was to add a bit of tallow. I did some online research, and found all sorts of recipes with various additives, including tallow. I also found a video showing how to make waterproof limewash the traditional way - things mixed in a bucket, measured out by the handful - that's my kind of instructional video! OK, "waterproof" wasn't exactly what I was aiming for, but it should solve the powderiness. Alkali mixed with fat makes soap and soap absorbs water, so I reckon that should still be breathable, more or less.
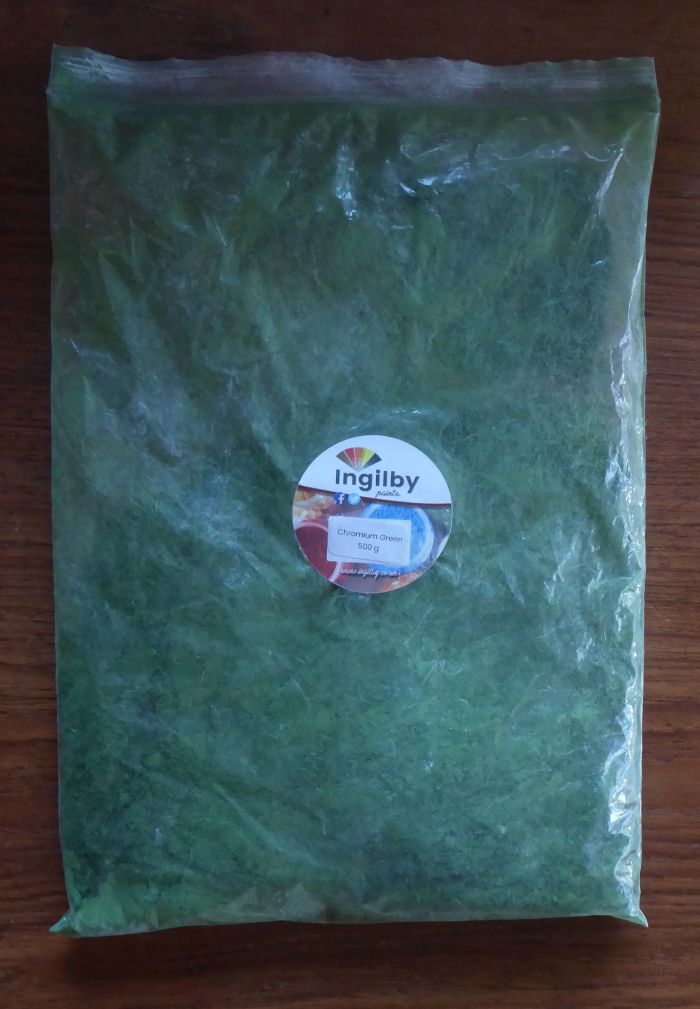
The next question was how to colour it? Of course, there are pigments available that are sold for just this purpose but again, they tend to be expensive. It's worth knowing that alkali can react with some pigments - I once tried adding lavendar flowers to soap and they went a murky brown/orange colour - so it's important to choose a non-reactive pigment. That generally means minerals rather than organic compounds. I wanted green - ideally the kind of old fashioned green that Farrow and Ball specialise in, but I had a feeling I wouldn't be able to be too fussy. I thought that for an old fashioned colour I'd stand the best chance with an old fashioned, i.e. very simple, mineral pigment. I wandered around the internet for a while until I found a likely looking green pigment and, with no idea how much I'd need, I guessed at 500g to be on the safe side. This was the most expensive ingredient.
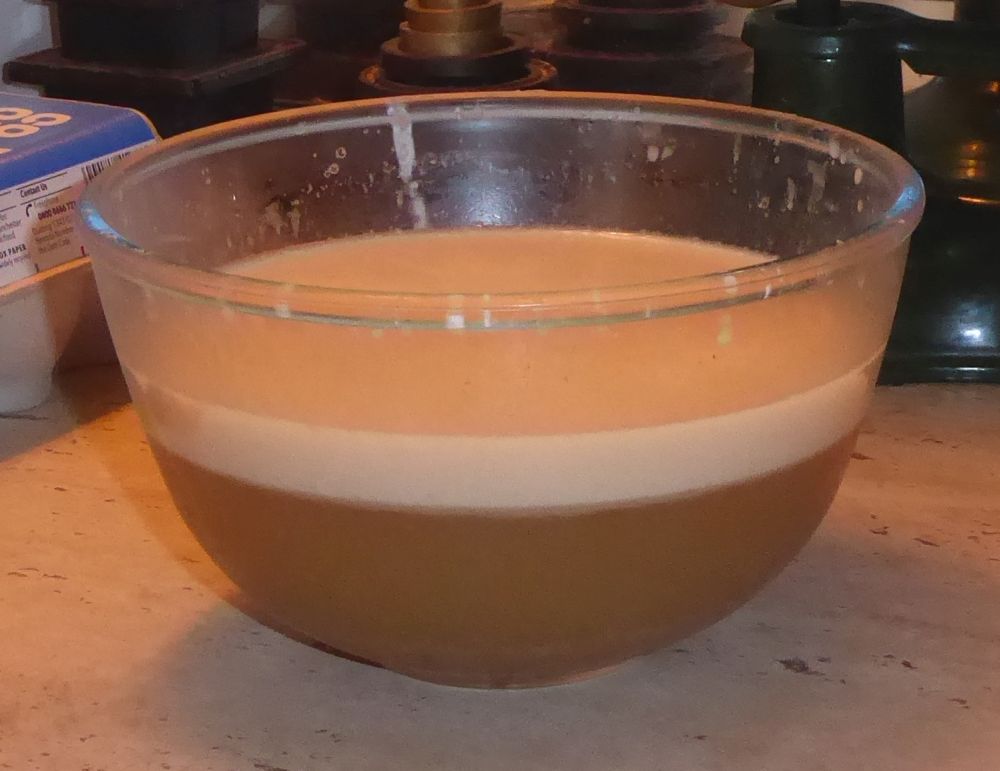
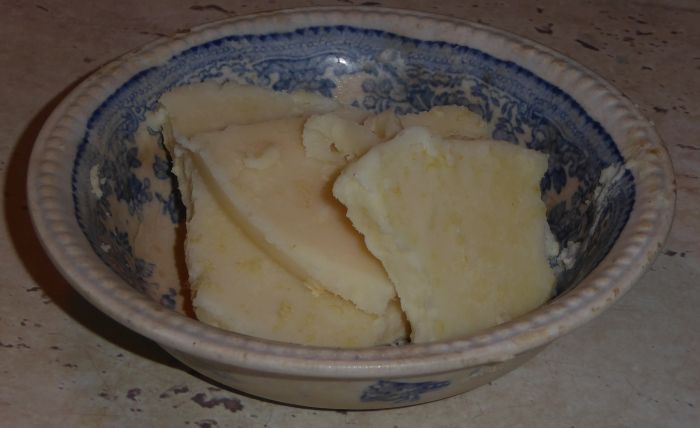
I know that tallow isn't something that's usually found lurking at the back of the fridge, but it is in my house. I habitually boil down leftovers from a joint of meat (or even quite small pieces) and try to use everything. Tallow keeps for ages, and for use in paint, I wasn't too bothered if it had gone a bit rancid.
Having assembled all of my ingredients, I followed the video instructions and had a go at making paint. The first thing I learnt was that, while a bucketful of lime and water might generate enough heat to melt tallow, a paint-potful does not. It took ages to get the tallow to mix in, and in the end it was still lumpy. Undeterred, I persevered. Adding pigment turned the paint an alarmingly bright shade of green, like freshly cut grass at the height of summer (a Welsh summer, with plenty of rain). Nonetheless, I went ahead at put that experimental batch on the wall. Unsurprisingly, it wasn't enough to cover it.
Once the paint dried, the colour faded from grass clippings to something approaching mint ice cream. Not quite what I was aiming for, but not bad. I made up another batch, this time melting the tallow in the microwave before mixing it in, to make it smoother. I threw in more pigment, aiming for the same shade of grass clipping-green I'd had before (What? No, of course I didn't measure it.) and painted the rest of the wall, as well as touching up spots that needed it after the first coat.
This time, the colour was a little darker, and closer in tone to the Calke Abbey green I was hoping for. I think that might have had something to do with an increased quantity of tallow. Although I had two shades of green on the wall, I found that I rather liked the dappled effect. The only trouble was that there were a few places where I had hard edges between blocks of colour.
I procrastinated for ages before the last attempt. I wanted to keep the nice dappled effect (ignoring my sister's sensible advice to make up a big batch and paint the whole lot one colour) but just improve it a bit. I feared that this would be the start of an endless series of "Just touch up that bit" paint jobs. Eventually I bit the bullet, made up a small batch of paint, and re-did the bits the were bothering me. I'm relieved to say that I'm delighted with the result!
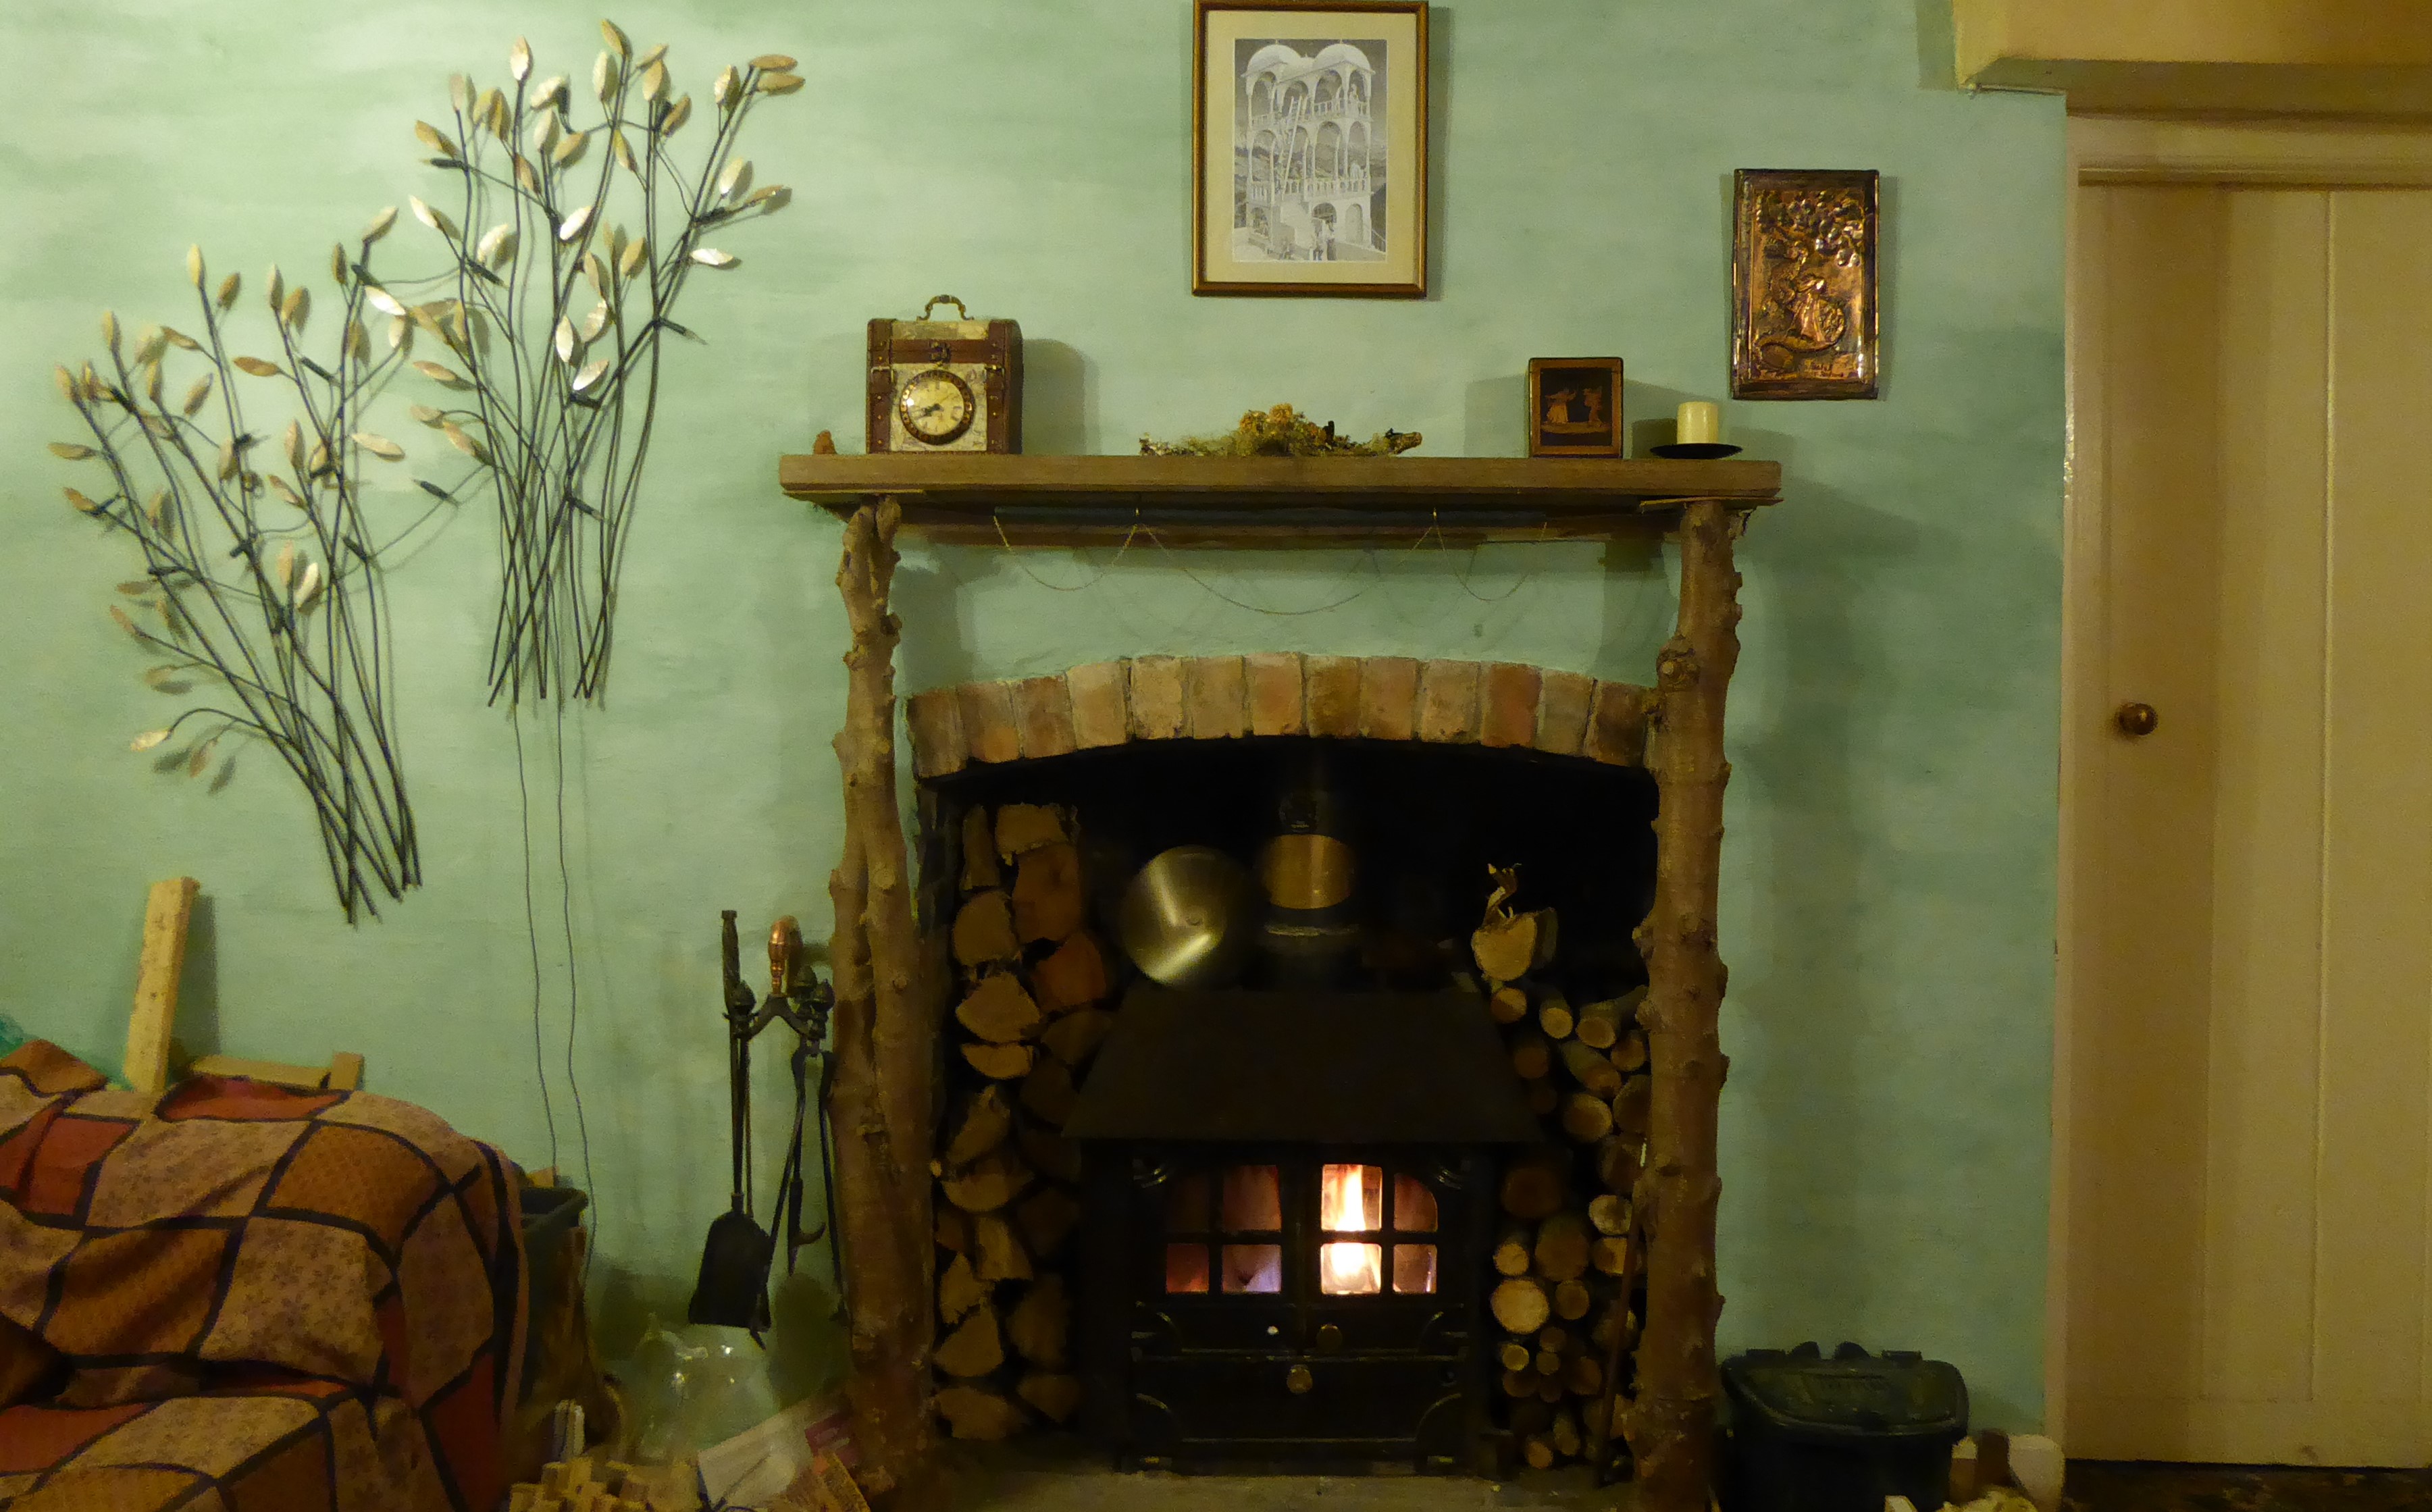
The finished wall.
Now I just have to paint the rest of the room.
Jayne:
Dec 10, 2020 at 10:15 AM
Such a lovely surprise when a post popped up in Feedly this morning, from your old blog.
I know ~nothing~ about websites and programming but Feedly tells me I cannot follow you because there is no RSS feed to tell them about new posts. Which is such a shame. You live where clouds are born, I live where they insist on throwing their contents about with no regard for those living below (Lake District).
rseabrook:
Dec 10, 2020 at 04:59 PM
How lovely to hear from you!
Some of the clouds that are born here are fairly short-lived...
I'll look into the RSS thing, thanks. I'm also thinking about an email list.
rseabrook:
Dec 11, 2020 at 12:04 AM
Hi Jayne, I think I've managed to add an RSS feed, though I haven't got a proper 'subscribe' button, yet. Could you let me know whether this link works?
http://rachelseabrook.net/blog-posts-from-where-clouds-are-born.rss
Thanks x
Jayne:
Dec 11, 2020 at 07:49 AM
Morning :-) That RSS link seems to work, Feedly recognised you and immediately found your previous posts.
rseabrook:
Dec 11, 2020 at 01:45 PM
Hooray! Thanks for that.
Jayne:
Dec 10, 2020 at 10:26 AM
Stunning, and your paint-making adventure sounds just like the daft sort of thing I would do if I had the opportunity.
You don't know me, you might not want to publish this, but please can I caution you about the logs you have around your wood burner. I know of one incident where logs stored in this way caught fire; thankfully the homeowner was present and able to get out quickly and call the fire brigade. Disaster was averted because a neighbour charged in with buckets and thick gloves and physically pulled out all the burning wood before the fire could spread.
rseabrook:
Dec 10, 2020 at 04:57 PM
Paint-making falls firmly in the daft project category. It's nice to know I'm not the only one!
I'm quite happy to publish this comment, and thanks for the caution. I didn't mention it here because it wasn't the focus of the post, but that particular wood burner has a jacket of water all around it, that feeds the central heating. The water takes so much heat away that the sides are usually cool enough to touch, especially the left one that still has its outer panel. It's worth noting that not all stoves are like this, though.
Jayne:
Dec 10, 2020 at 06:19 PM
reassuring to know - I have no experience of your sort of wood burner, only my 'normal' one which obviously gets blisteringly hot!
Paul Campbell:
Dec 11, 2020 at 11:33 PM
Wow this is just so good. The results make me want to go try it now on my wall. It may have taken 10 years but the results are definitely worth it. I like the decorating touches too. They set it off nicely. Well done and can’t wait to read more.
rseabrook:
Dec 12, 2020 at 09:32 AM
Thank you so much!